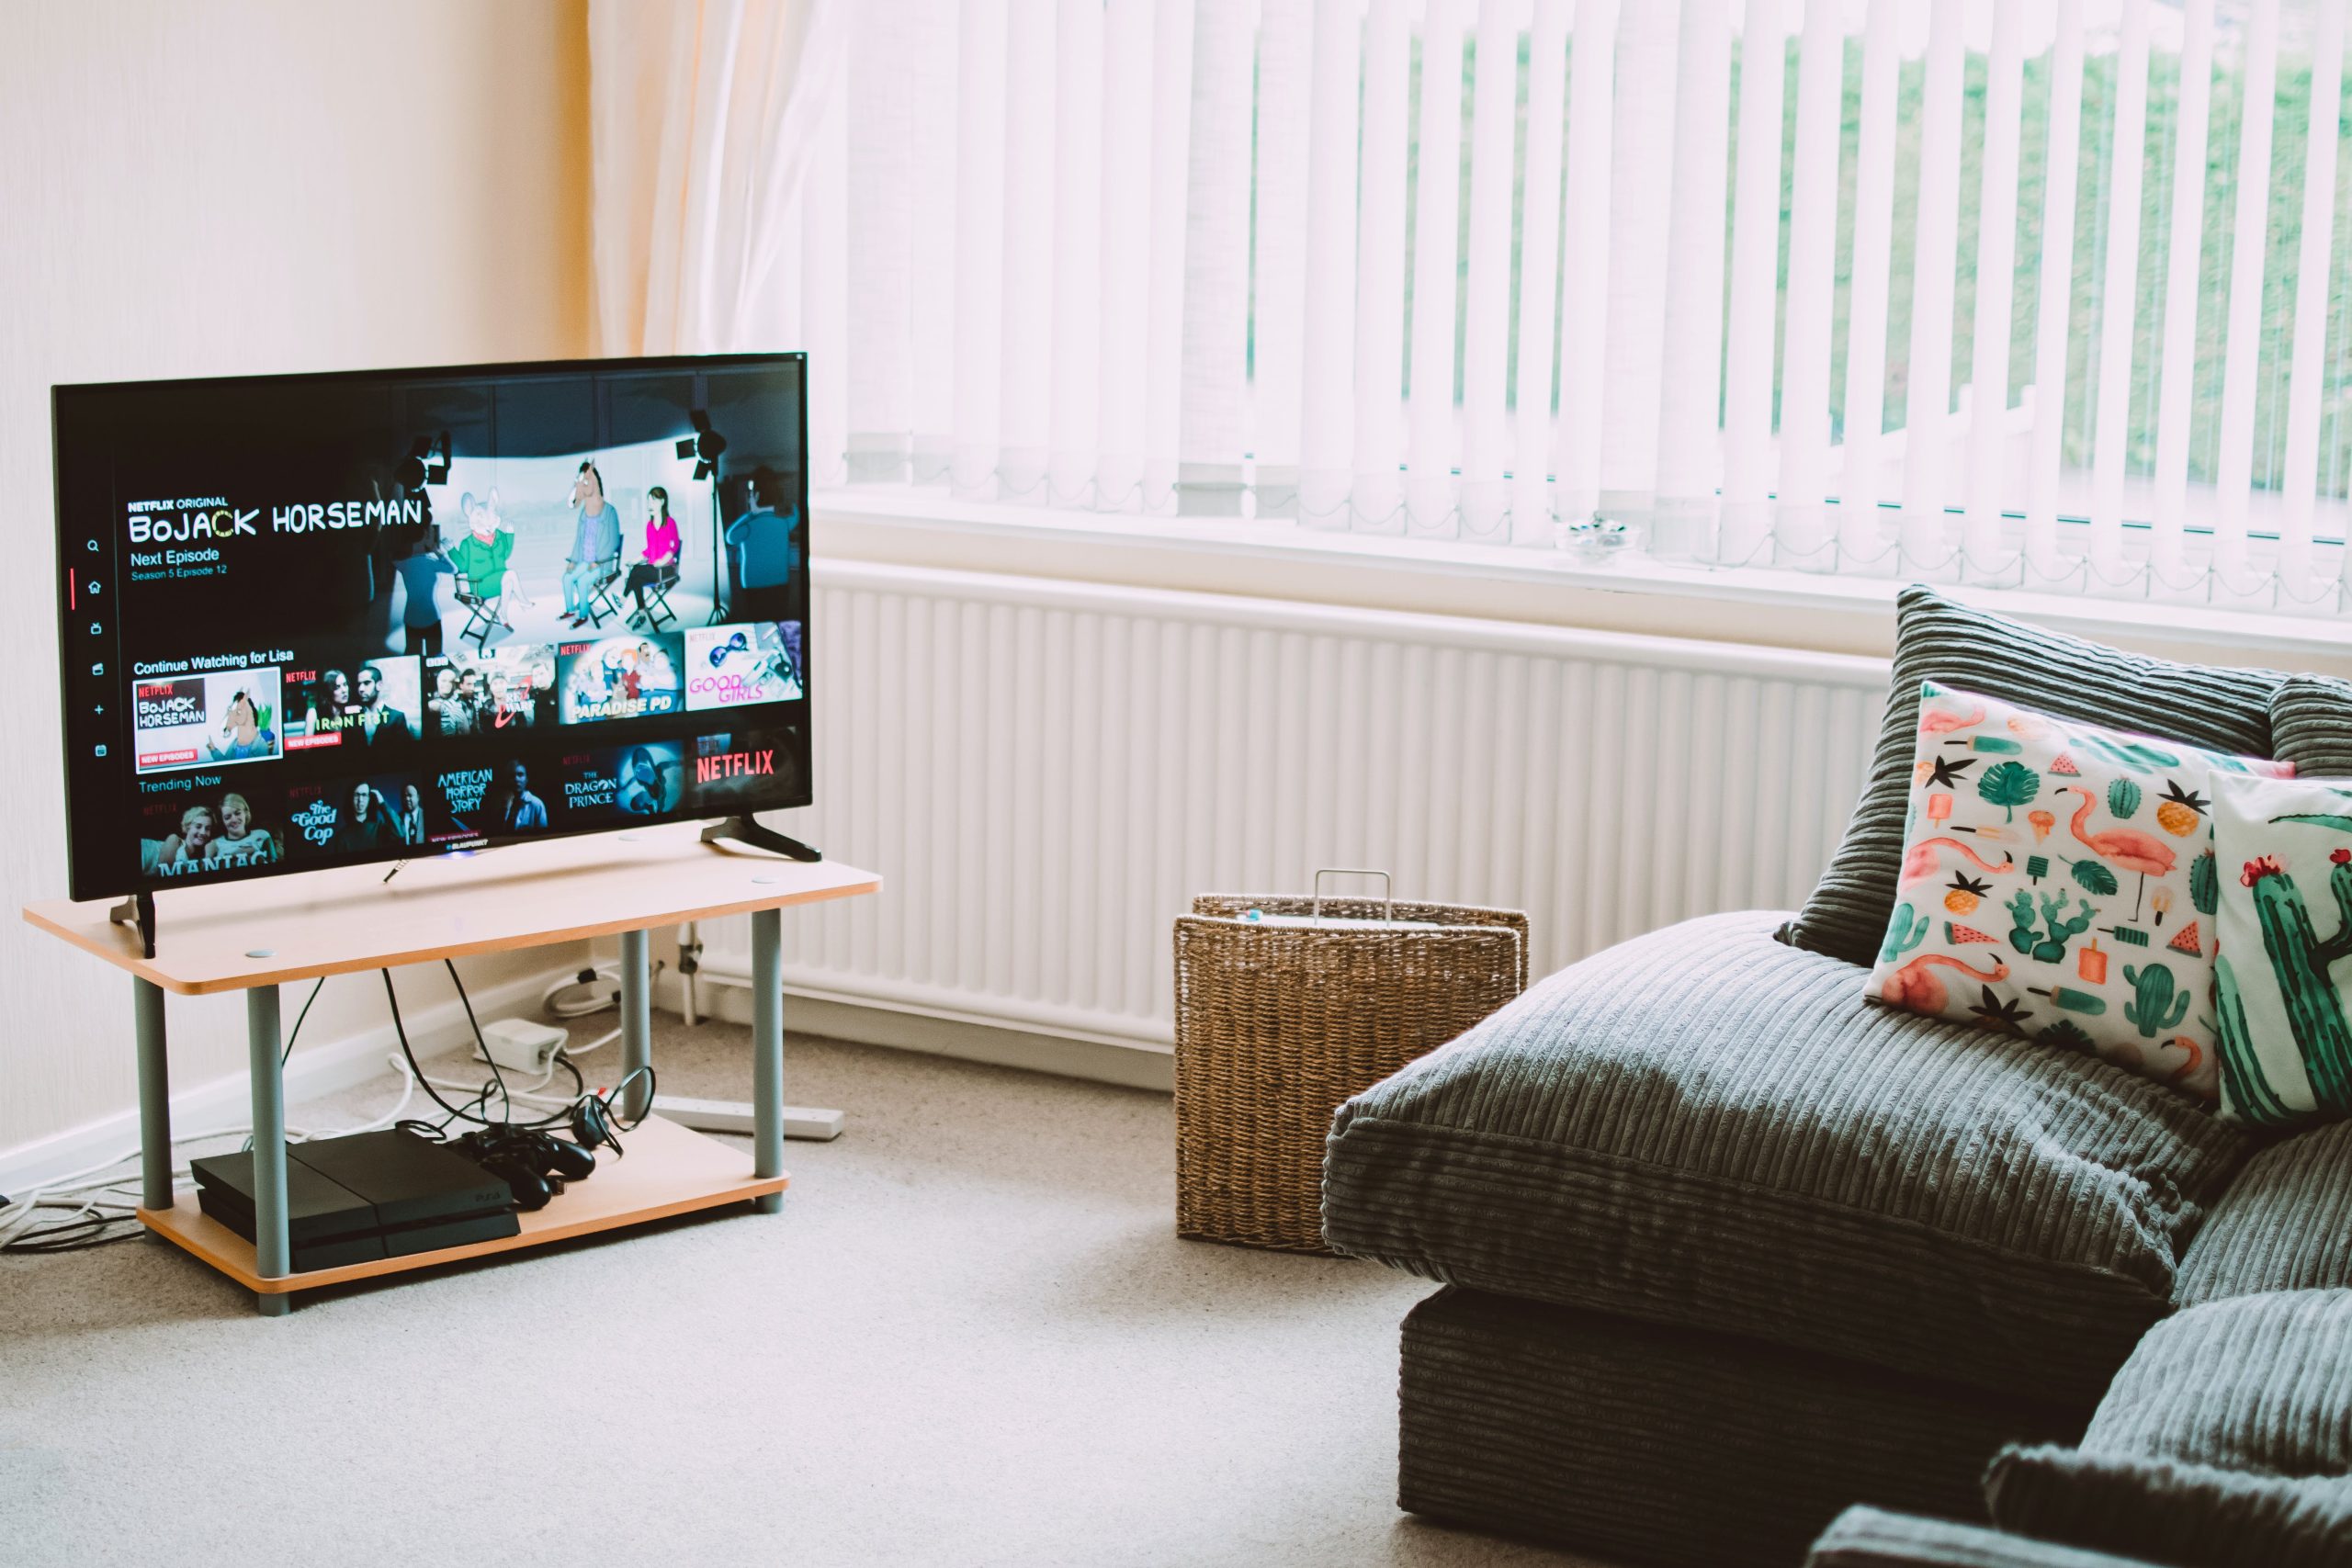
Smart TVs have revolutionized the way we consume entertainment, providing access to a vast array of streaming services and online content. To unlock the full potential of your Smart TV, it is essential to connect it to the internet. In this guide, we will take you through the step-by-step process of connecting your Smart TV to the internet, ensuring seamless streaming and a world of entertainment at your fingertips.
Check Internet Connection
Before diving into the process of connecting your Smart TV, it is crucial to ensure a stable internet connection. Verify that your home Wi-Fi network is up and running, or consider using an Ethernet cable for a more reliable connection.
Turn on Smart TV
To begin, power on your Smart TV by pressing the designated power button on the remote control or directly on the TV itself. Give it a few seconds to boot up, and you’ll be greeted with the home screen.
Navigate to Network Settings
Using your remote control, navigate to the settings or options menu on your Smart TV. The exact location of the settings may vary depending on the brand and model of your TV. Look for options related to network settings or connectivity.
Choose Wi-Fi or Ethernet
Once you’re in the network settings menu, you will typically have two options to choose from: Wi-Fi or Ethernet. Select the option that suits your setup and preferences.
Connect to Wi-Fi
If you opt for a wireless connection, proceed to connect your Smart TV to your Wi-Fi network. From the available Wi-Fi networks, select yours, and if required, enter your Wi-Fi password. Ensure that the password is entered correctly to establish a successful connection.
Connect via Ethernet
Alternatively, if you prefer a more stable and reliable connection, connect your Smart TV directly to your router using an Ethernet cable. Locate the Ethernet port on your TV and plug one end of the cable into the TV and the other into an available port on your router.
Test Internet Connection
Once you’ve established the connection – whether via Wi-Fi or Ethernet – it’s time to test its functionality. Return to the network settings menu and select the option to test the internet connection. The TV will perform a speed test and verify if everything is working correctly. If the test fails, ensure that all cables are securely connected, restart your TV, and try again.
Troubleshooting
Despite your best efforts, issues may arise during the connection process. Here are a few common troubleshooting steps to help you get your Smart TV connected:
- Restart your Smart TV and router to refresh the connection.
- Ensure that your Wi-Fi router is within range of your TV. Consider relocating the router or using Wi-Fi extenders for better coverage.
- Double-check that you’ve entered the correct Wi-Fi password. Pay attention to uppercase and lowercase letters.
- If using an Ethernet cable, ensure that it is not damaged and properly connected to both your TV and router.
- Update your Smart TV’s firmware, as outdated software can sometimes cause connectivity problems.
- If issues persist, consult the manufacturer’s user manual or their customer support for assistance.
Conclusion
Congratulations! By following this comprehensive guide, you have successfully connected your Smart TV to the internet. Now, you can explore the vast range of streaming services, watch your favorite shows and movies, and enjoy an endless array of online content from the comfort of your living room. Embrace the power of the internet and elevate your entertainment experience with your newly-connected Smart TV. Happy streaming!


